Installing a rotor assembly is a relatively straightforward process.
Here are some tips to help you get the job done quickly and safely:
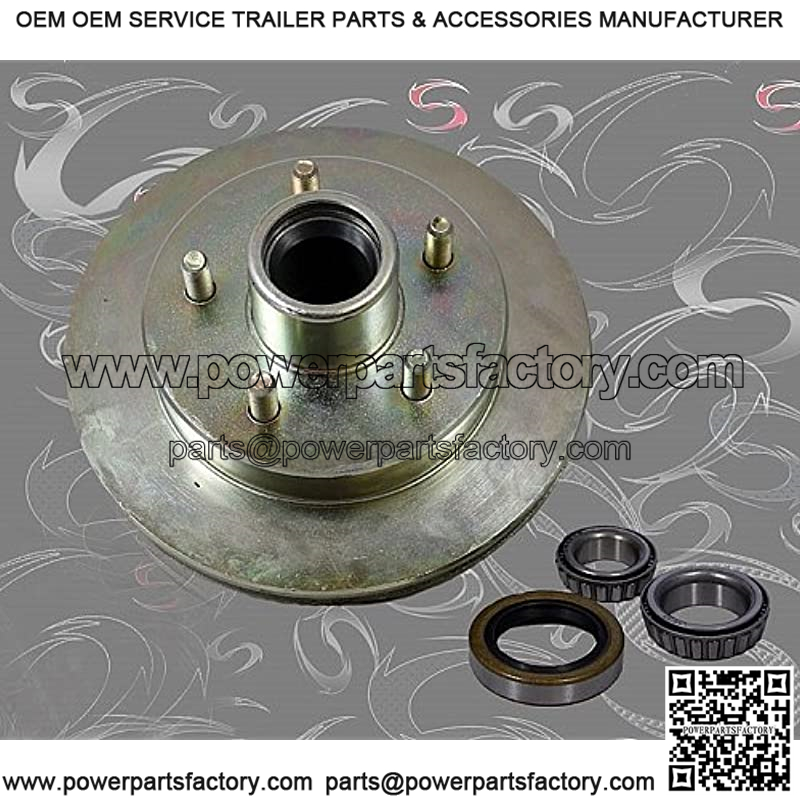
First, of all assemble all the parts that are included in the kit.
Many kits come with a rotor, cap, screws, and shims.
Make sure all the parts fit together properly and that the rotor is secured tightly with the screws.
Secondly, wipe the rotor and the cap with a cloth to make sure they are clean and free of dirt and debris.
Third, line up the threads for the rotor and the cap, then insert the shims to make sure that the rotor sits correctly when tightened.
Fourth, screw the rotor and the cap together until they are firmly in place.
Make sure not to over-tighten as this could cause damage to the rotor.
Finally, test that the rotor spins freely and moves correctly.
Adjust the screws and shims if necessary.
Then you can re-assemble the parts of the vehicle that you removed to access the rotor assembly.
Make sure all connections are properly secured and that nothing is obstructing the rotor.
Follow these steps, and you should have the rotor assembly installed in no time!
It’s important to make sure that the assembly is installed properly to ensure a smooth operation.
“Keyword”
“rotor assembly”
“rotor assembly parts”
“when powering up the rotor assembly it becomes a”
“helicopter rotor assembly”
“alternator rotor assembly”
“lg rotor assembly”
“permanent magnet rotor assembly”
“what is the function of rotor assembly”
“brake rotor assembly”
“lg washer rotor assembly”
“wilwood rotor assembly”
“hub and rotor assembly”
“rotork actuator assembly”
“rotor crankset assembly”